Floor staining can breathe new life into worn-out timber floors, transforming them from bland to breathtaking. In fact, this can be a very satisfying DIY project that, with a little effort, can make a big impact. But before you jump into the deep end, there are a few things to keep in mind. While floor staining might seem straightforward, it’s a process that benefits from a touch of patience and a smidgen of know-how. Here is everything you need to know to get your floors looking top-notch.
1. Why Stain Your Floors?
Staining your timber floors isn’t just about adding a splash of colour. In fact, it is about bringing out the natural beauty of the wood, creating depth, and giving your space a cosy, inviting feel. With the right stain, you can highlight the grain patterns, darken or lighten the tone, and even add a layer of protection.
Beyond aesthetics, staining can help disguise imperfections. For older floors that have seen better days, a well-chosen stain can make scratches and scuffs less obvious, giving them a fresh, uniform look. Plus, the staining process is significantly cheaper than replacing the entire floor. If you are considering floor staining in Sydney, the right stain choice can also add to your property’s charm and value, matching the aesthetics of both modern and classic homes in the area.
2. Choosing the Right Stain Colour
Picking a stain colour is a bit like choosing a paint colour. Too many options can make your head spin, but fear not! It’s about finding a shade that complements your space. Dark stains, such as walnut or espresso, give a rich, dramatic look. They work well in larger rooms, but can make small spaces feel a tad closed in. Lighter stains, such as oak or maple, can keep rooms feeling bright and airy, which is ideal if you’re after that spacious, open feel.
It is also important to not skip the sample test. This is because timber can react differently to stain depending on its type and age. Therefore, it is crucial to always test a small, out-of-sight spot first to see how the wood absorbs the colour. Timber has its quirks, and doing a sample test first can save you from making a bad choice.
Pro Tip:
If you’re struggling to choose, it is a good idea to go for a neutral tone. It is timeless, easy on the eyes, and won’t clash with furniture or decor changes down the track.
3. The Prep Work: Sanding and Cleaning
Staining is not a shortcut—it’s a commitment. Therefore, doing the prep work is essential if you want a smooth, even finish. We recommend to start by sanding the floor. This is because sanding removes the old finish and any existing imperfections, giving the stain a clean slate to work with. A light sand can sometimes work, but for a thorough job, consider a sanding machine. However, it is important to be gentle—timber floors don’t love aggressive sanding.
After sanding, the next step is to clear away all the dust and debris. Vacuum, sweep, and mop to make sure no dust is left behind. After all, even the tiniest particles can ruin a stain, leaving you with uneven patches or a gritty finish.
Quick Tip:
It is essential to take your time with this stage. Good prep is the secret sauce for a perfect stain job. Skimp on it, and you will be fighting an uphill battle.
4. Applying the Stain: Go Slow and Steady
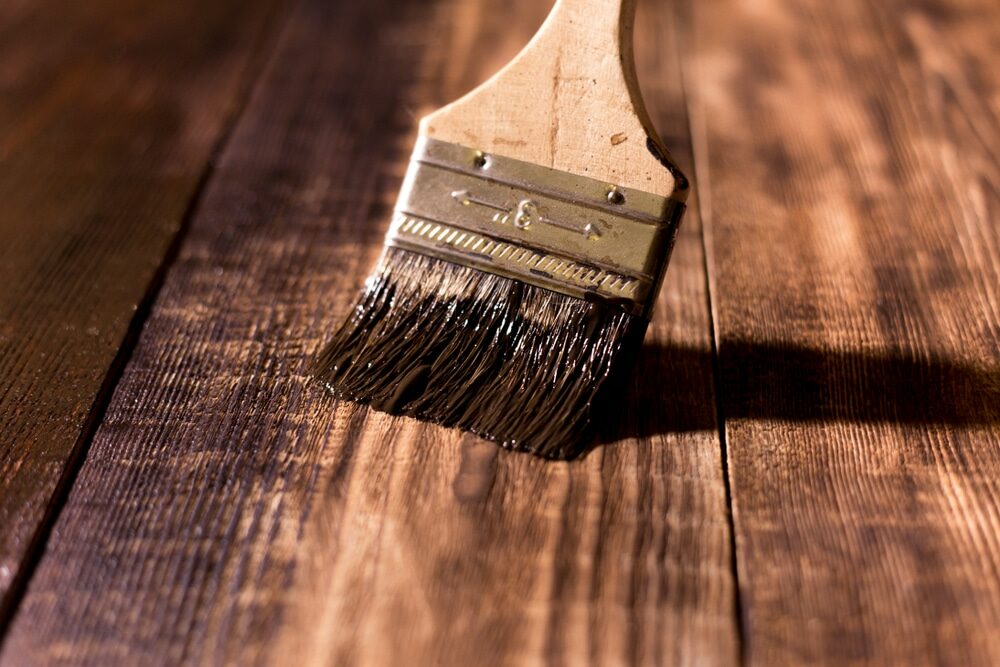
Staining is where the magic happens, but don’t rush it. Using a rag or brush, it is best to start in one corner of the room and work your way out. Moreover, the stain should be applied evenly, following the grain of the wood. It is also important to avoid putting too much strain on at once, as puddles can lead to blotchy patches. After applying the stain, you will need to let it sit for a few minutes, then you can wipe away any excess with a clean cloth. The longer the stain sits, the darker the colour will be, so if you prefer a lighter look, then you can wipe it off sooner rather than later.
It is important to let each layer dry fully before adding another if you want a deeper tone. Building up the stain gradually allows you to control the final look without overdoing it in one go.
Friendly Reminder:
Take a break if you need to; stain fumes can be strong, so it is best to work in a well-ventilated area to keep things comfortable and safe.
Final Thoughts
Floor staining is a rewarding project that adds personality to your home, especially if you are considering floor staining to fit your space’s aesthetic. By taking it step-by-step—from choosing the colour to sealing the final finish—you can transform your floors and make them shine. Happy staining!

